


This article will take 4 minute(s) to read.
[#article-topic-1]Introduction[#article-topic-1]
Simultaneous Ring Personal allows you to configure up to ten (10) additional phone numbers to ring simultaneously each time your desk phone rings with this feature. Answering any one of your phones will stop ringing on the other phones.
[#article-topic-2]Simultaneous Ring Personal[#article-topic-2]
- From the user dashboard, locate and click on User Service Settings.
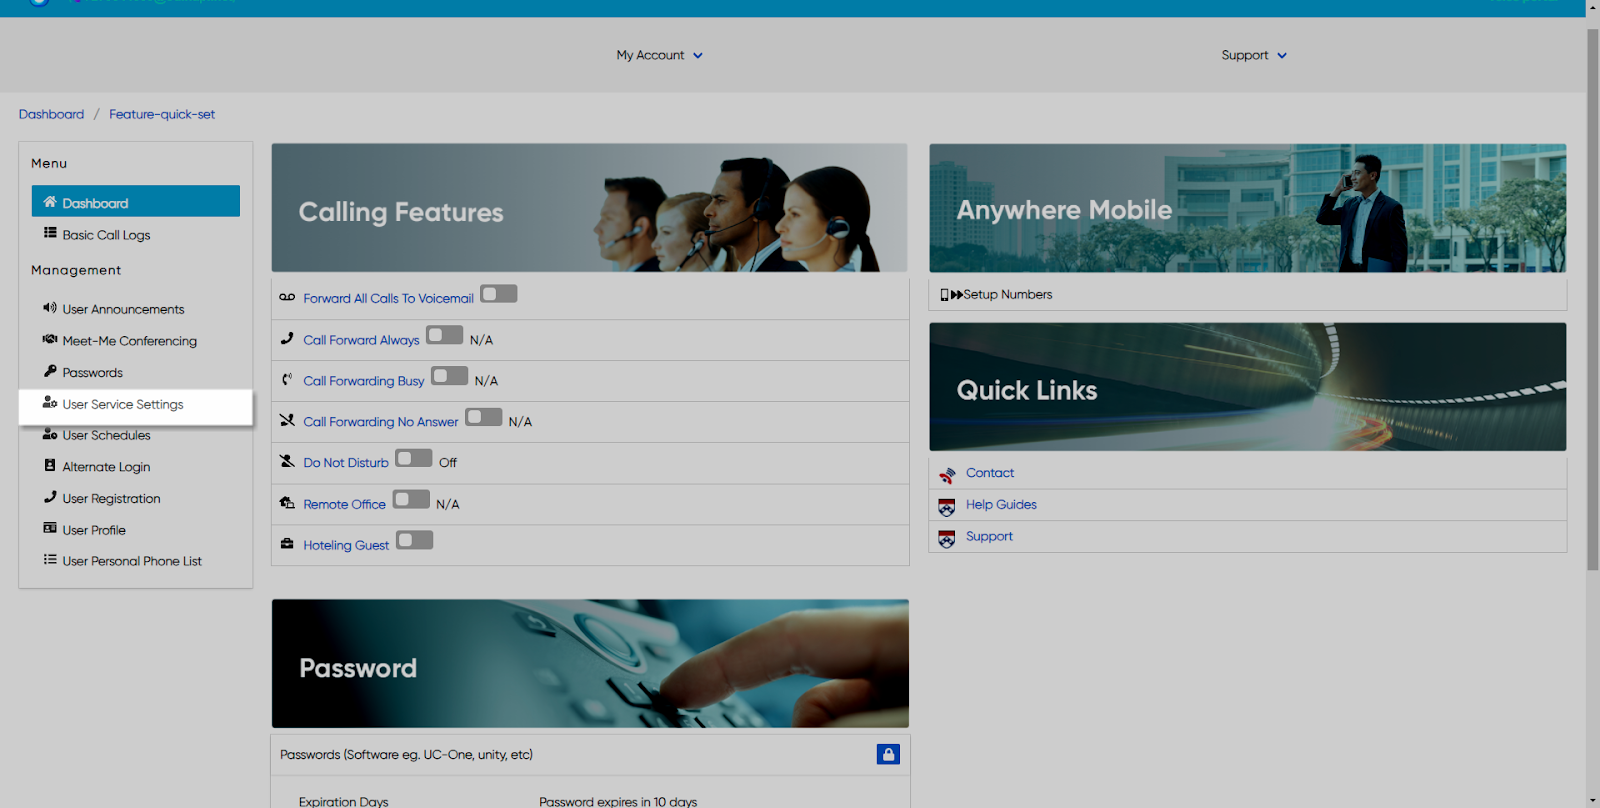
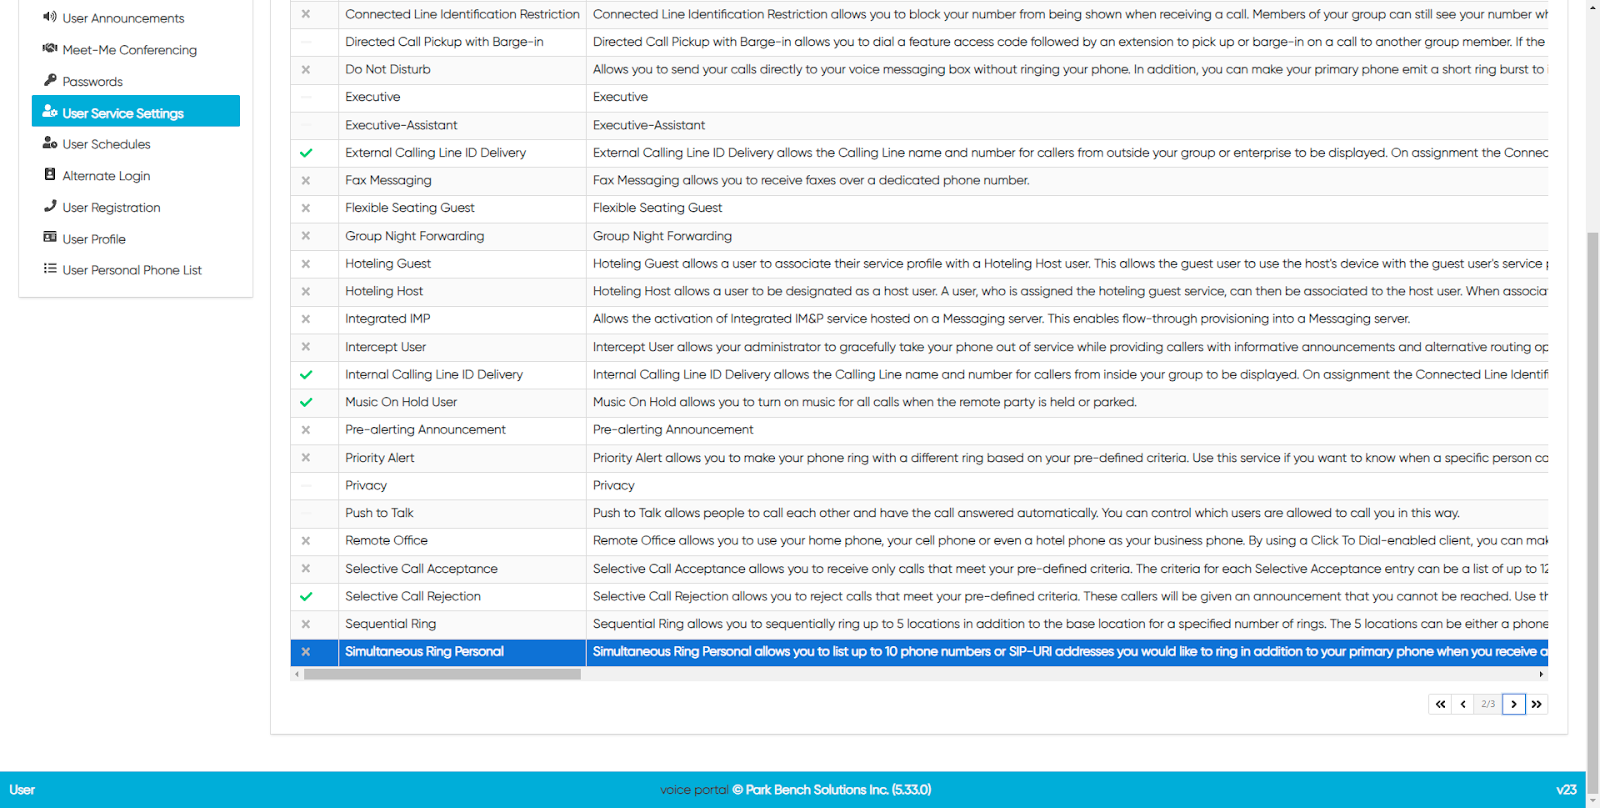
- The Services page will appear.
- Proceed to locate and click on Simultaneous Ring Personal. This will give you access to the Simultaneous Ring Personal configuration page.
To Configure Simultaneous Ring Personal:
- Click on the Settings icon within the Simultaneous Ring Personal table.
- To enable Simultaneous Ring, check the checkbox next to Is Active. Also if you wish for the phone to not ring when you’re on an active call, check the checkbox by Do Not Ring if On Call.
- Next, enter a valid 10-digit number you wish to configure in the field provided and choose whether you would like an Answer Confirmation associated with this corresponding number. You can repeat this step up to 10 times.

Please Note: By selecting “Answer Confirmation” the call recipient will be prompted to press any key before being connected. This is useful when you want the call recipient to know that the call is not meant specifically for them.
- When complete click Save. Your Simultaneous Ring Personal locations will now appear in the tale above criteria.
To Add Criteria:
- Click on the Plus icon within the Simultaneous Ring Personal Criteria table.
- Under the Active section, click Enable Simultaneous Ring Personal if you wish to enable these settings.
- Next, set the setting for Do Not Ring Sequentially.
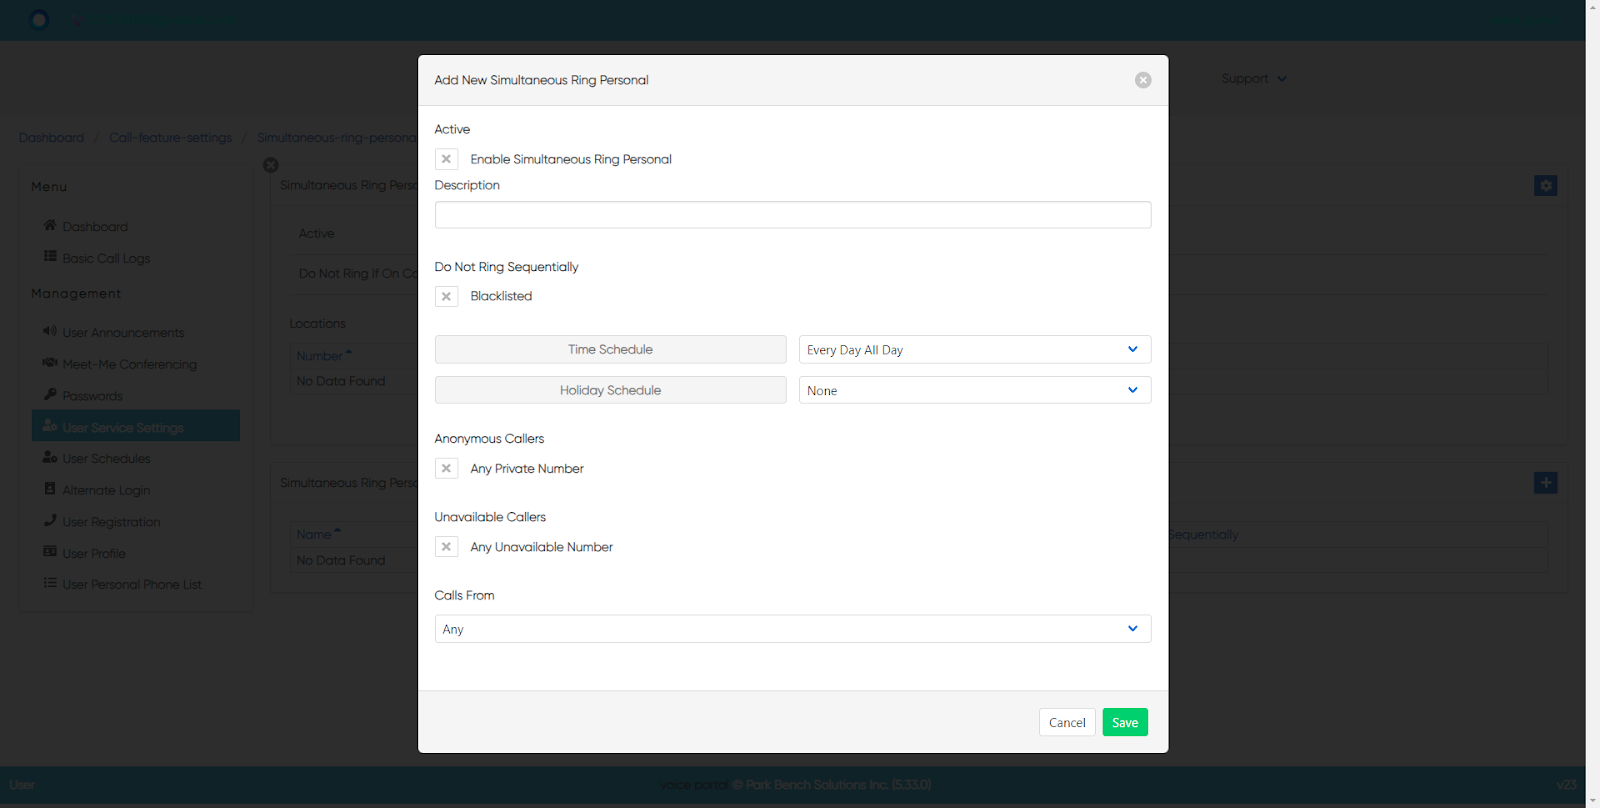
- Next, select the Time and Holiday Schedules. Under Time Schedules, you have the following items to choose from. From the Drop-down menu:
a. Every Day All Day
b. User-Created Schedules: these are schedules created by you within the User Schedules tab via the dashboard. To create a schedule, follow the steps within the User Schedules guide.
You also have the option to choose a Holiday Schedule from the Holiday Schedule drop-down menu.
- Finally, select where you want to receive calls from. You have the option to choose one of the following:
a. Any Private Numbers
b. Any Unavailable Numbers
c. Specific Numbers - If choosing this option, use the fields below to enter valid 10-digit numbers.
- When complete, click Save.
back to top button
