This article will take 4 minute(s) to read.
[#article-topic-1]Introduction[#article-topic-1]
The Push to Talk feature allows users to treat their desktop phones as either a one-way or two-way intercom.
[#article-topic-2]Push to Talk[#article-topic-2]
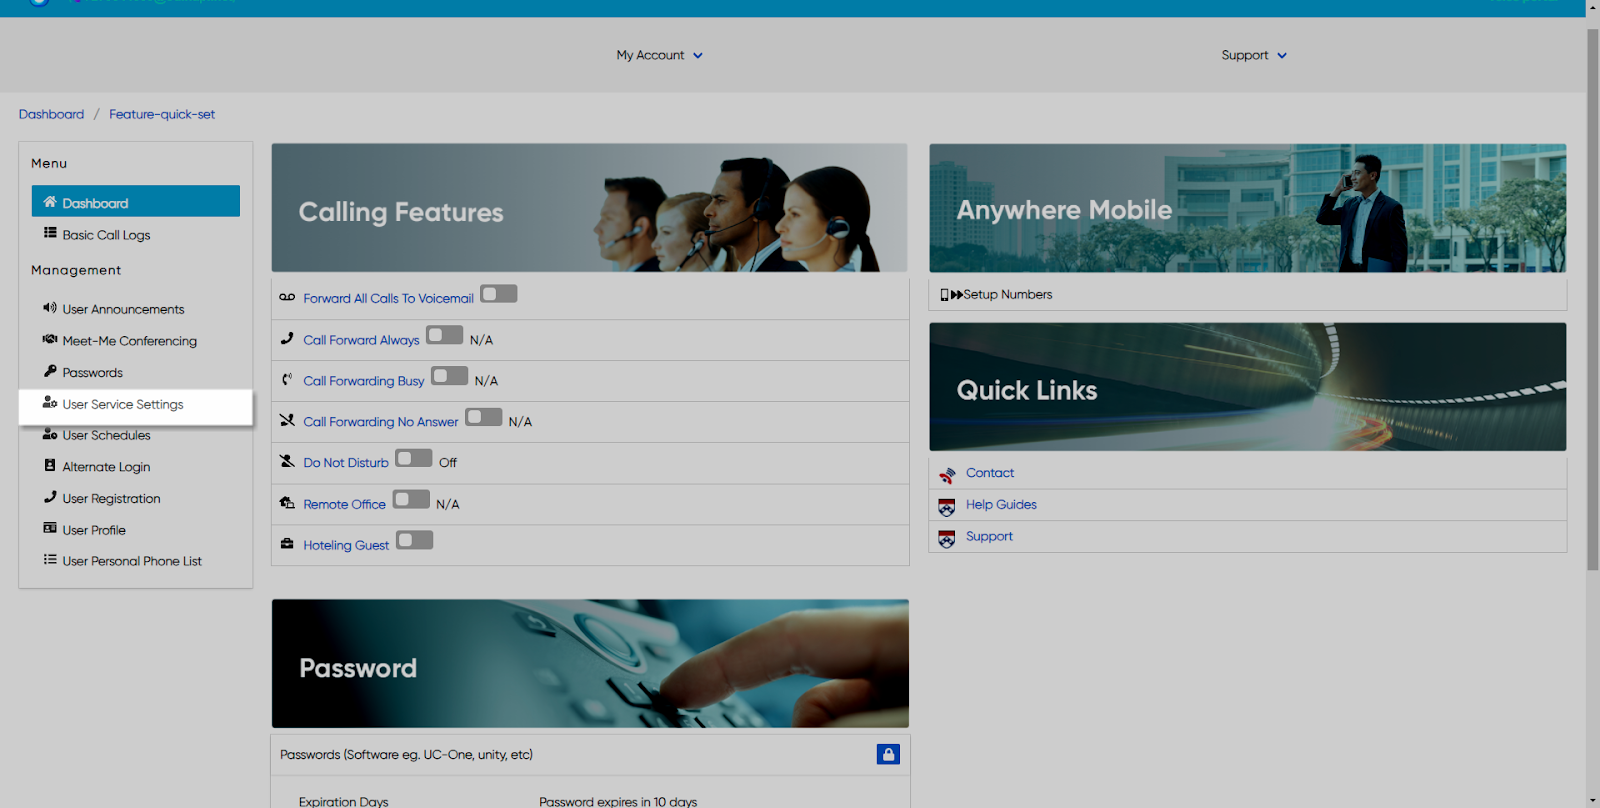
- From the user dashboard, locate and click on User Service Settings.

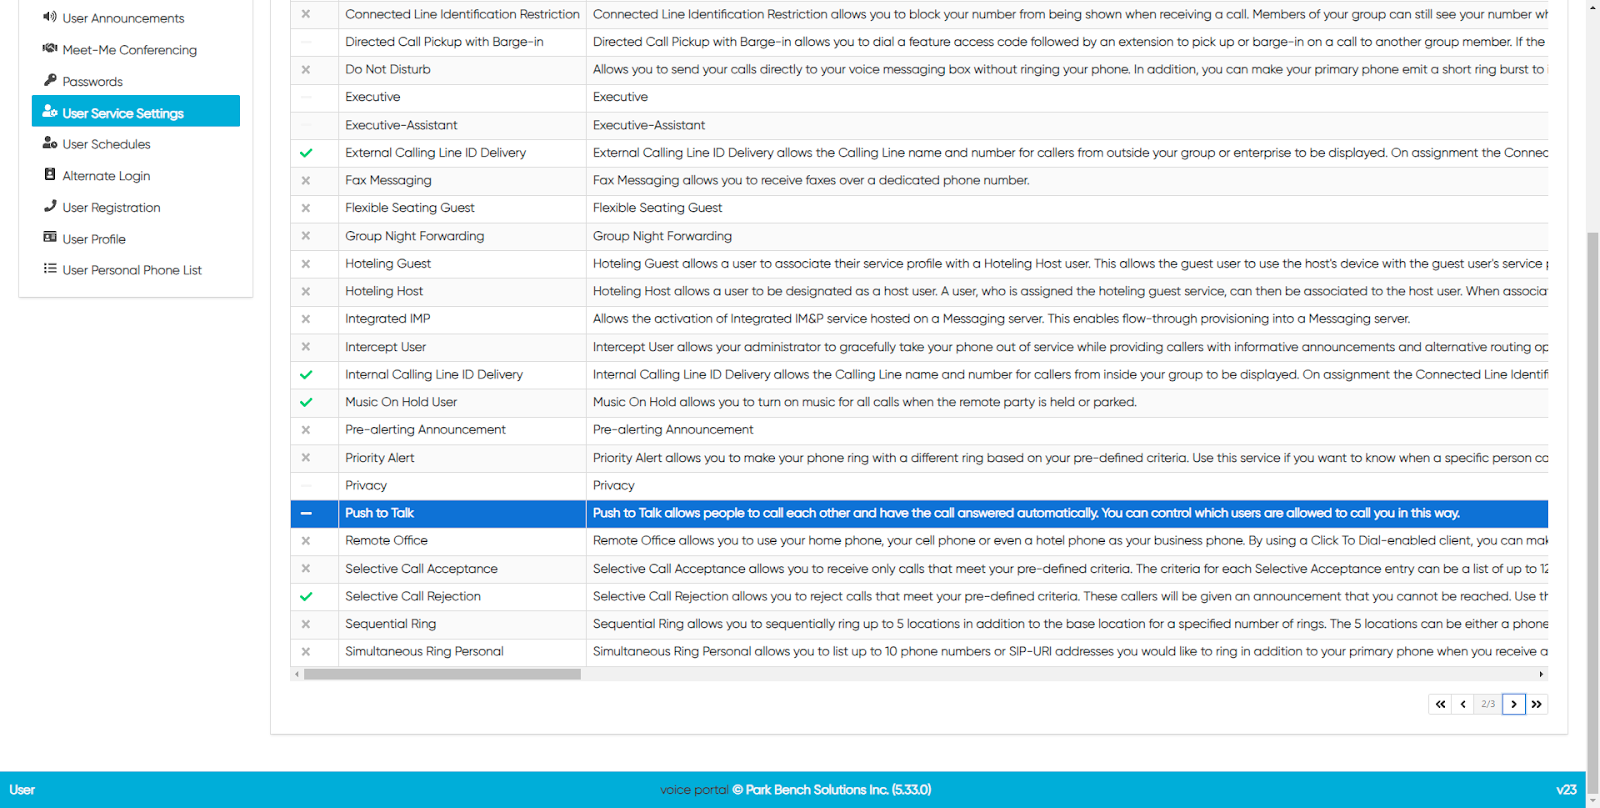
- The Services page will appear.
- Proceed to locate and click on Push to Talk. This will give you access to the Push to Talk configuration page.

To Configure Push to Talk:
- Click on the Settings icon within the Push to Talk table.
- To enable auto-answer, check the checkbox next to Auto Answer.
- Next, choose a Connection Type:
One-way - The users you add to the allowed user’s list can chat with this person but only in one direction. With this option, the person you enable push to talk for cannot respond to the people in the allowed user’s list.
Two-way - The users you add to the allowed user’s list can have a two-way conversation. With this option, the person you enable push to talk can respond to the people in the allowed user’s list.

- Proceed to choose your access lit from the drop-down menu
- When finished, click on the Save button.
To Add/Edit Users:
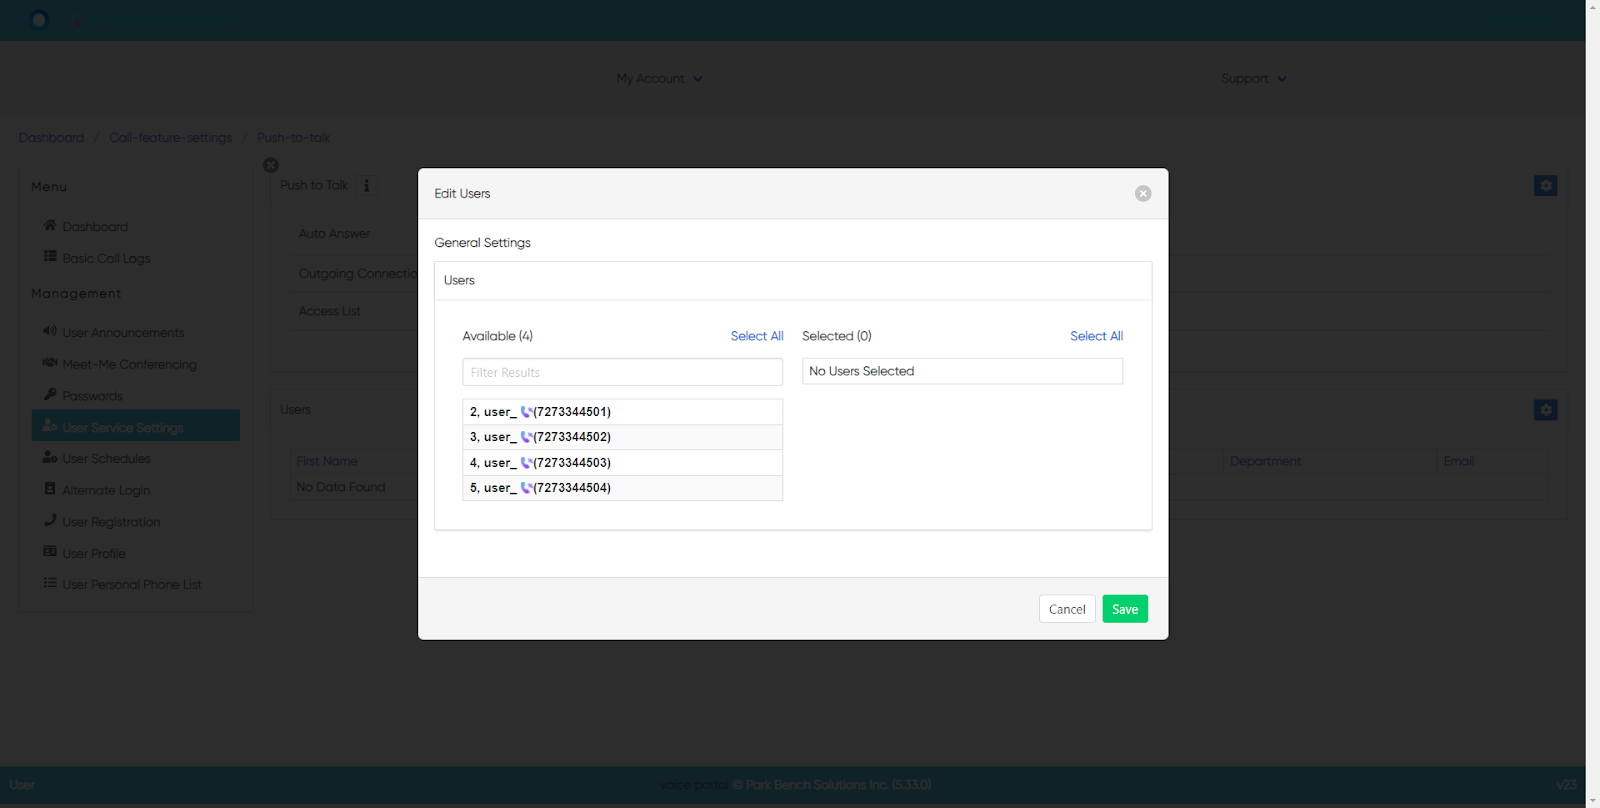
- Click on the Settings icon within the Users table.
- The Edit User List will appear. To add selected uses, go down the list and click on the corresponding numbers. These users will now move from the Available list to the Selected List.

When complete, click the Save button.
back to top button


