


This article will take 4 minute(s) to read.
[#article-topic-1]Introduction[#article-topic-1]
The Call Transfer feature enables a user to relocate an existing telephone call to another phone or attendant console.
[#article-topic-2]Call Transfer[#article-topic-2]
- From the user dashboard, locate and click on User Service Settings.
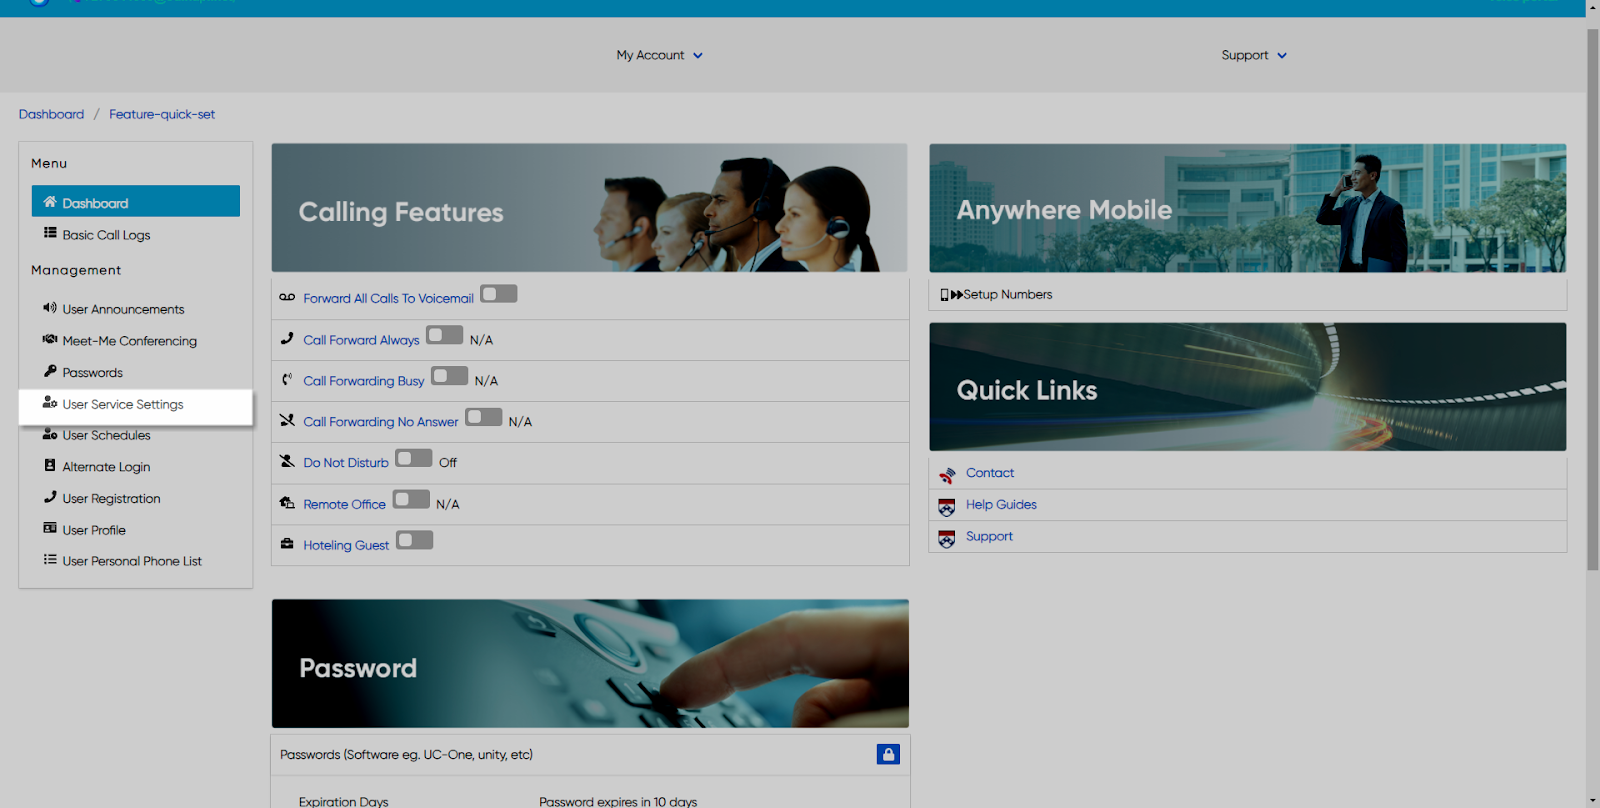
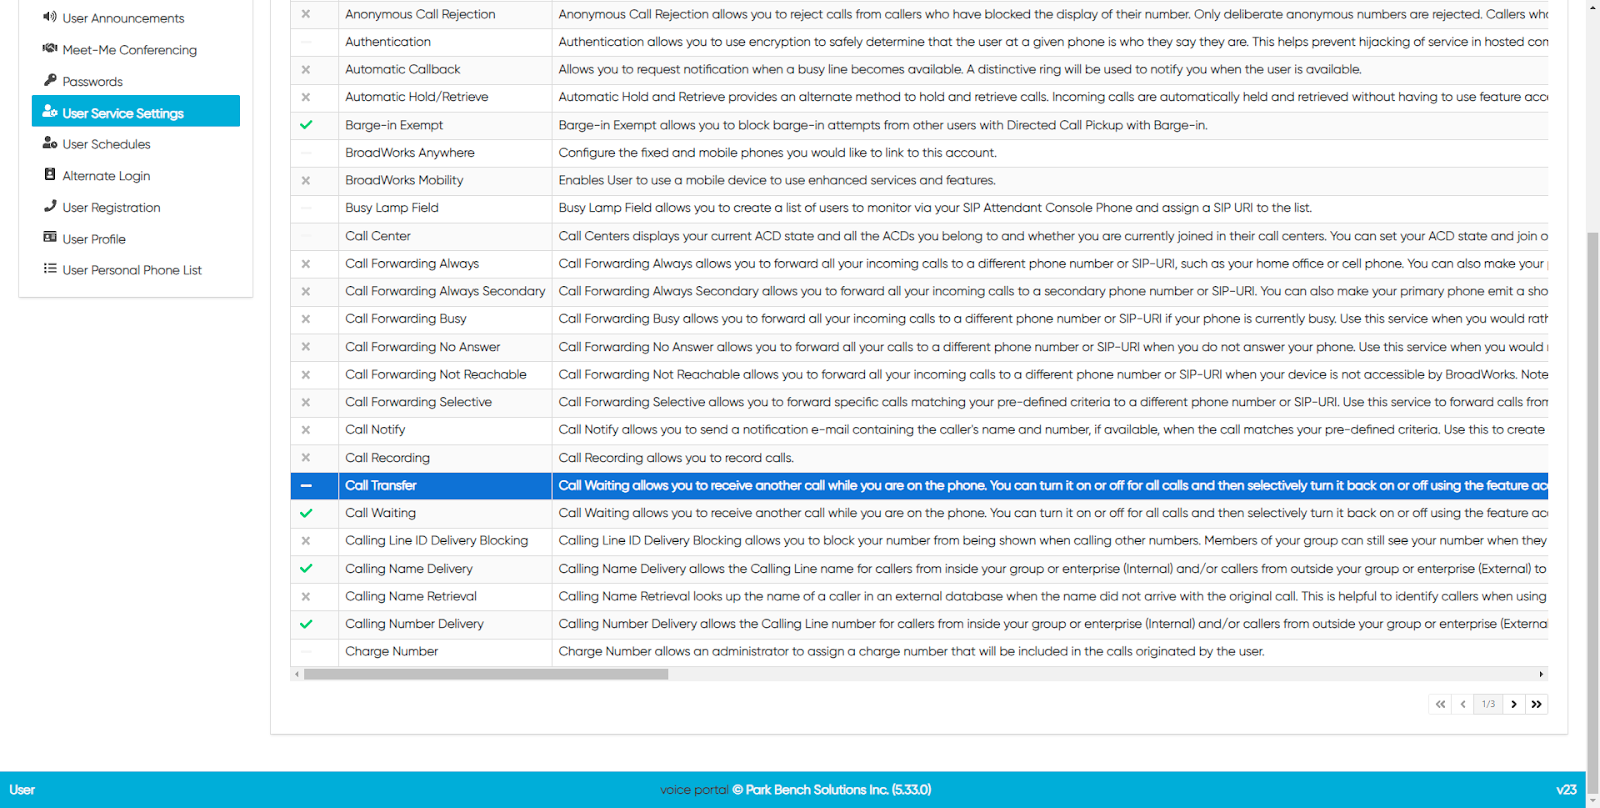
- The Services page will appear.
- Locate and click on Call Transfer. This will give you access to the Call Transfer configuration page.
To Configure Call Transfer:
- Click on the Settings icon within the Call Transfer table.
- Next under the General Settings section, configure the settings you wish to utilize by enabling the feature by checking the checkbox next to each corresponding feature setting.
- Input the number of rings for the Call Transfer.
- Lastly, input the number of seconds to Enable Busy On Camp Seconds if you wish to enable this feature, if not input 0.
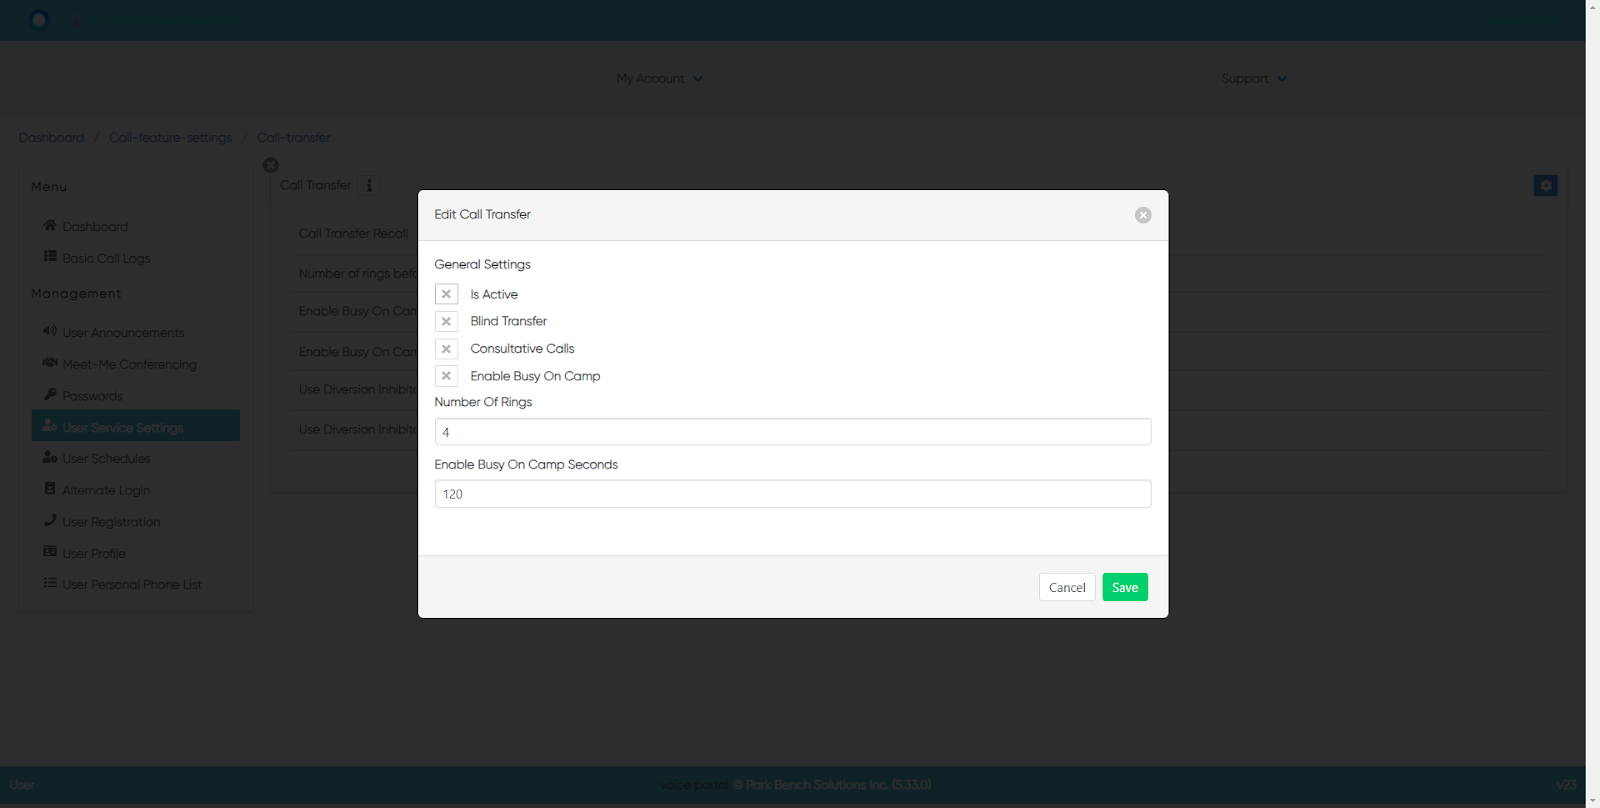
5. When complete, click the Save button to confirm changes.
back to top button
