


This article will take 4 minute(s) to read.
[#article-topic-1]Introduction[#article-topic-1]
Call Recording allows the user to audiotape incoming and outgoing telephone calls for use in training, marketing, and other analyses.
[#article-topic-2]Call Recording[#article-topic-2]
- From the user dashboard, locate and click on User Service Settings.
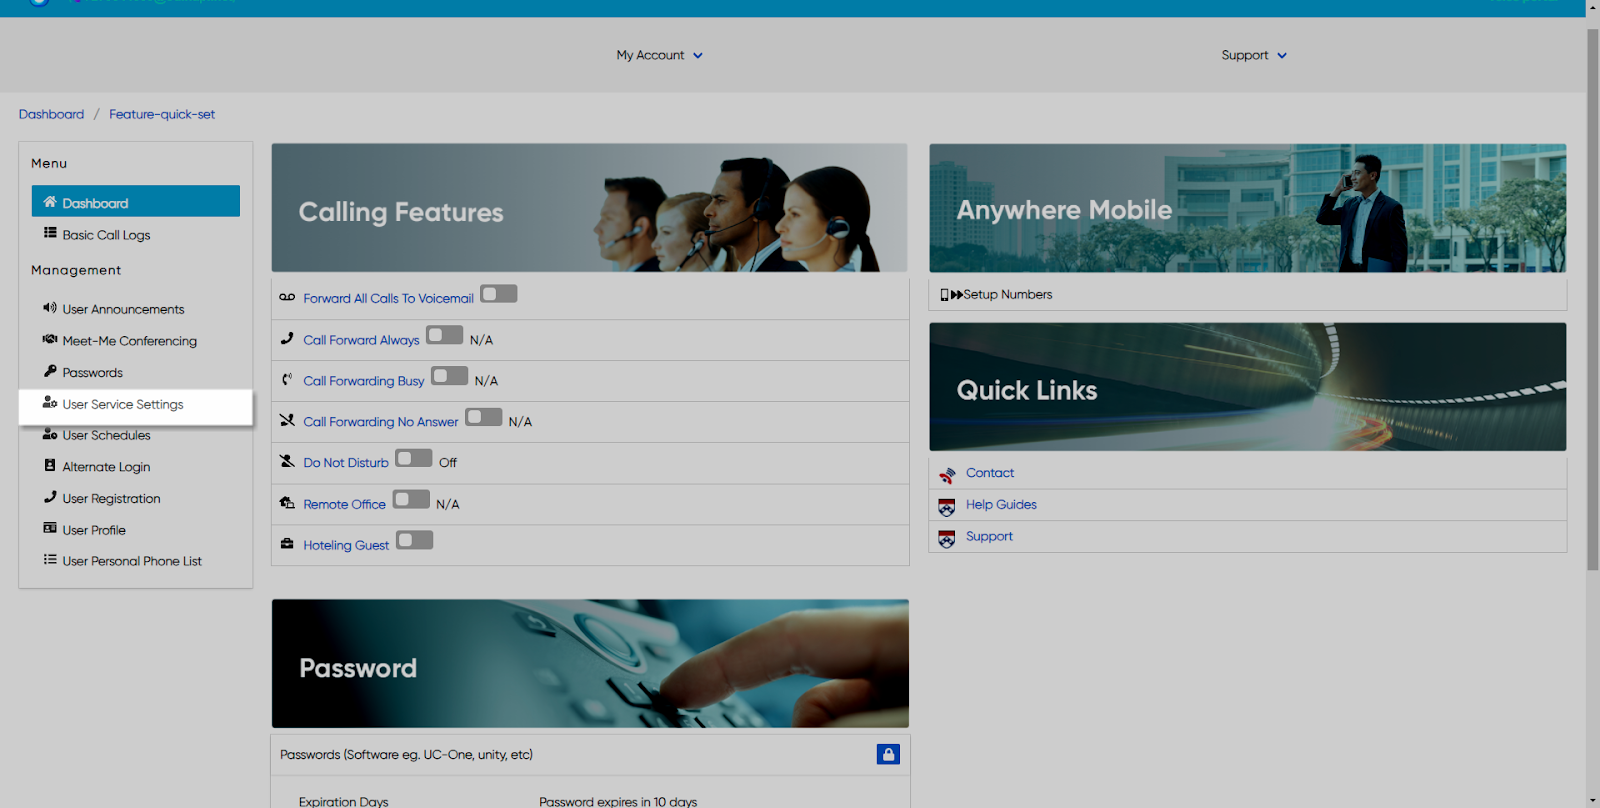
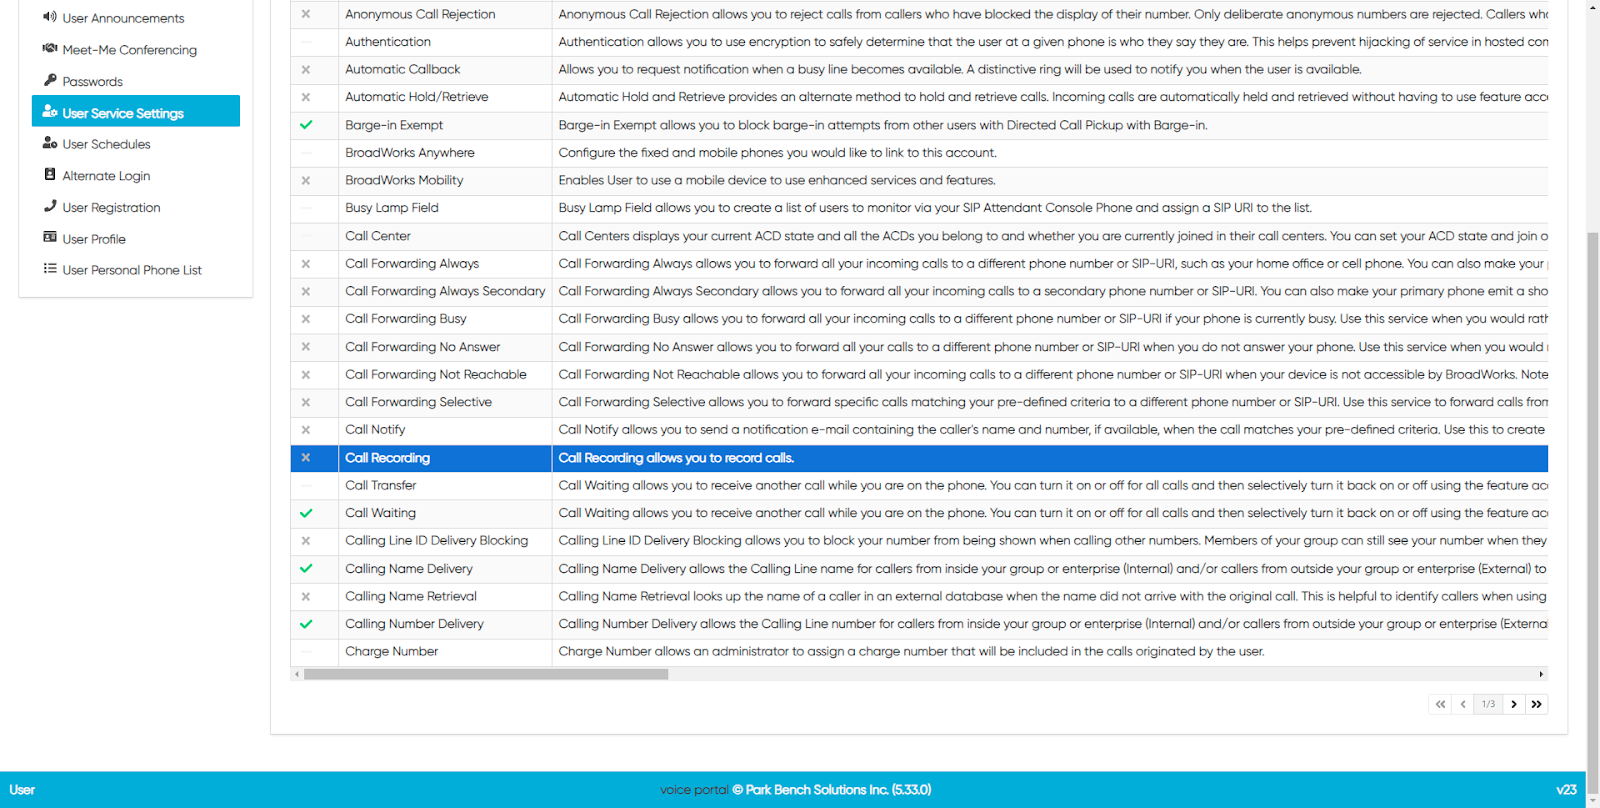
- The Services page will appear.
- Locate and click on Call Recording. This will give you access to the Call Recording configuration page.
To Configure Call Recording:
- Click on the Settings icon within the Call Recording table to configure this feature.
- Select how you wish to record from the drop-down menu. These options include. Always, Never, On-Demand, Always with Pause and Resume, or On Demand with User-initiated Start.
- Next, select the Pause Resume Notification from the corresponding drop-down menu. Choose to Enable Call Recording Announcement and Record Call Repeat Warning Tone by checking the respective checkboxes.
- Then, from the drop-down menu, select the number of seconds you wish to repeat the warning tone.
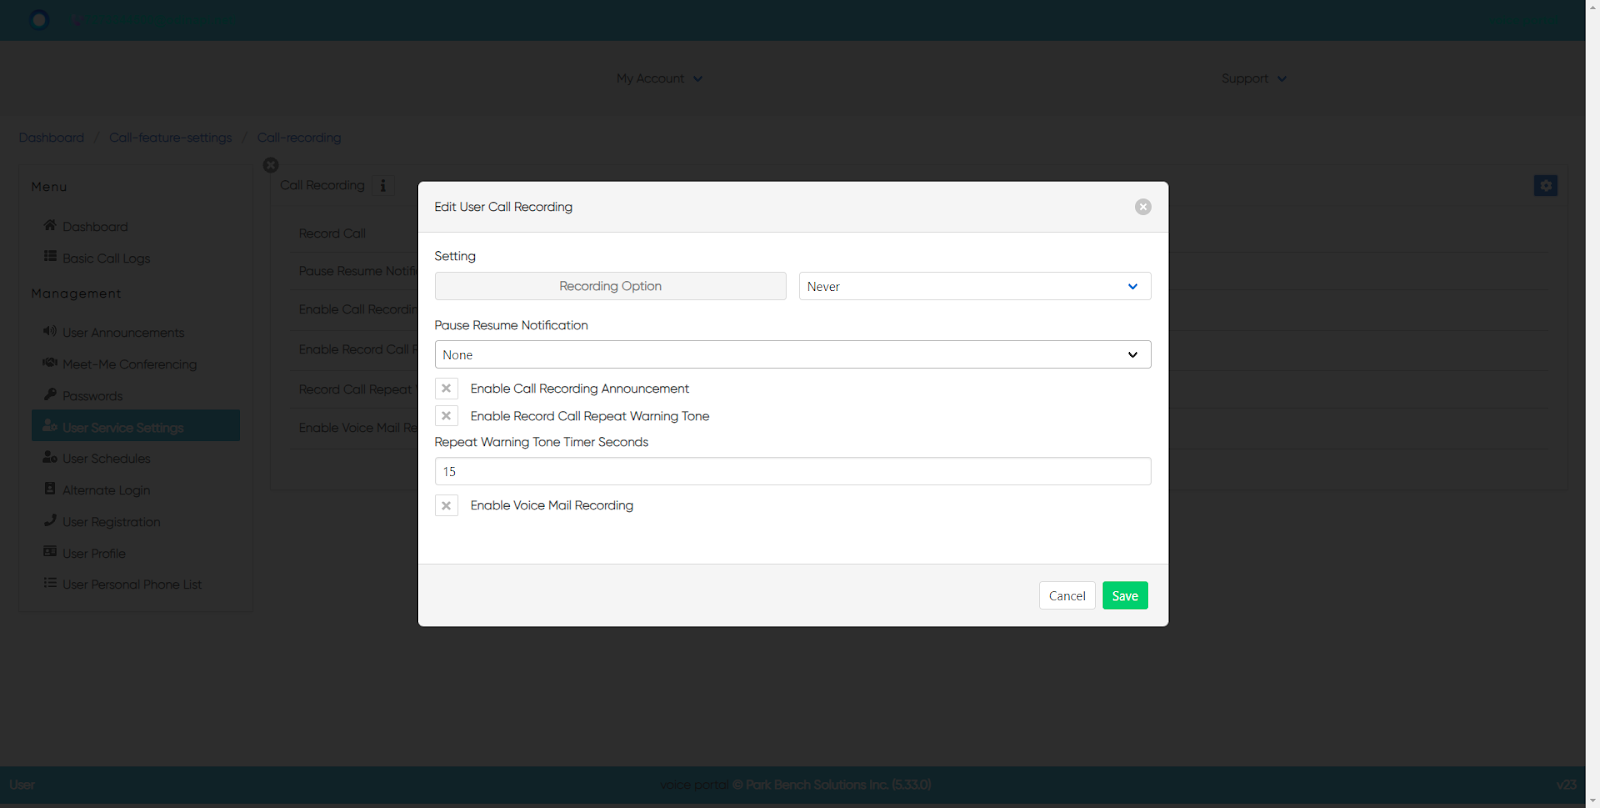
- You can enable Voicemail Recording by checking the enable checkbox.
- When complete, click on the Save button.
back to top button
