[#article-topic-1]Call Center[#article-topic-1]
Call Centers automatically process incoming calls received by a single phone number and distribute to a group of users or agents. Call Centers provide an automated “answer” with customizable greetings, comfort messages, and hold music. Queued calls are then routed to available agents. The Call Center service includes enhanced features such as agent log-in and logout, call queuing, and overflow control.
Note: There are three types of Call Centers (Basic, Standard and Premium). The following documentation is for Premium which includes all available options.
[#article-topic-2]Modifying a Call Center[#article-topic-2]
Administrators can set up and modify Call Centers within the admin portal. To view and modify a Call Center, follow these steps:
1. From the group dashboard, select Call Center under Group Services.

2. A list of the Call Centers assigned to this group/location are displayed.
3. Select the Call Center you would like to modify. This brings you to the Call Center menu. The left-hand navigation refers to the settings available to modify this Call Center.
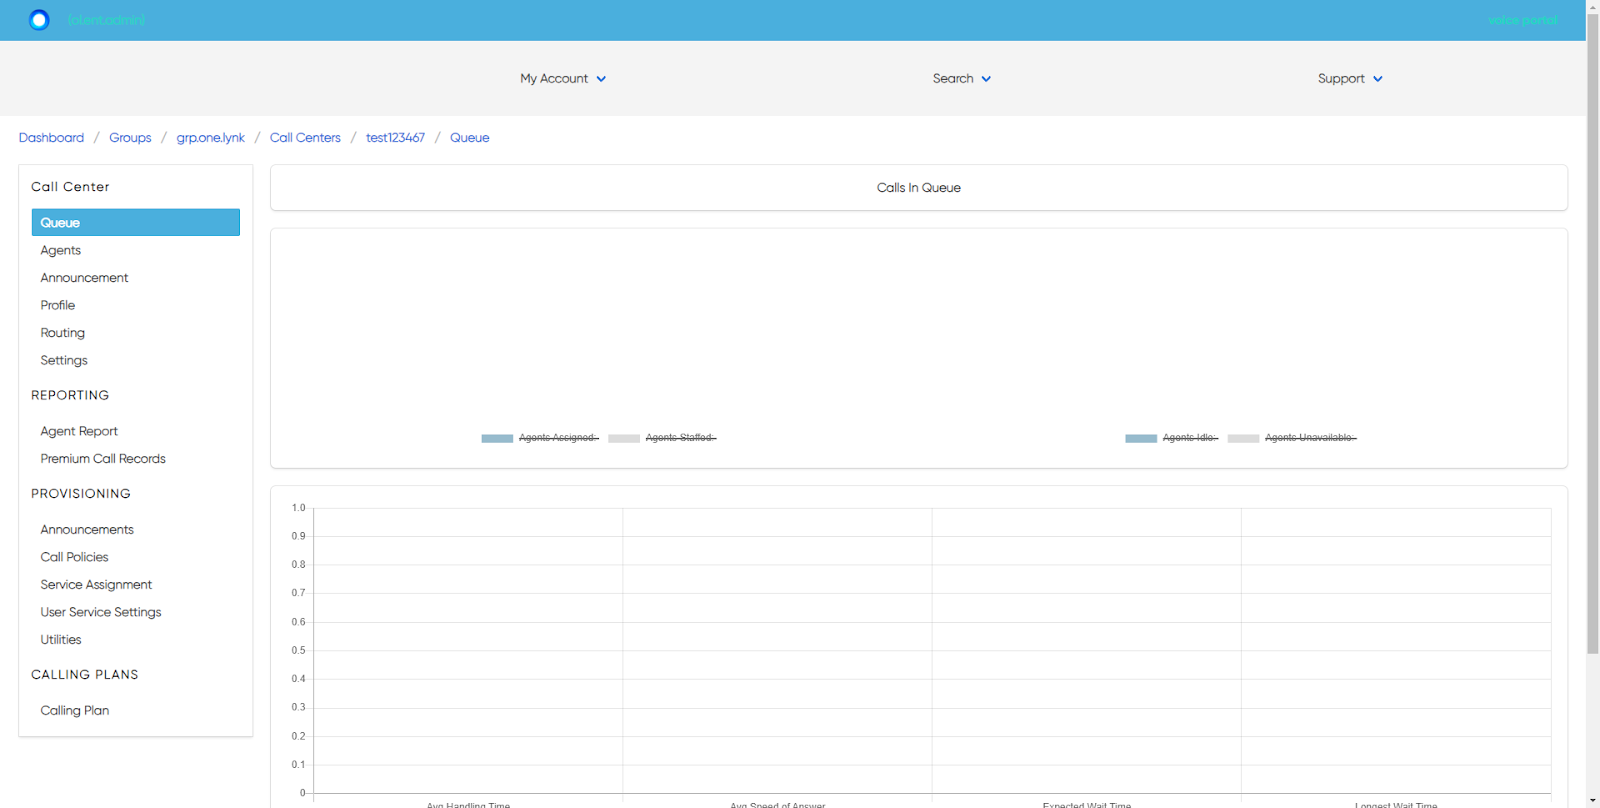
[#article-topic-3]Queue Statistics[#article-topic-3]
On the Queue tab is a live queue statistics view of the agents assigned to this Call Center.
[#article-topic-4]Advanced Settings[#article-topic-4]
On the Advanced tab, you can configure settings for the following:
● Queue Status Notifications - Select the Settings icon to modify the following:
○ Queue Status Notification - Check the box to enable.
○ Queue Depth - Enable the queue depth threshold by checking this box and then entering the Number of Calls in Queue to set the threshold.
○ Waiting Time - Enable the waiting time threshold by checking this box and then entering the waiting time threshold in seconds.
● Distinctive Ringing - Modify the distinctive ringing feature for the Call Center by selecting the Settings icon.
○ Enabled - Check this box to enable.
○ Ring Pattern - Select a unique ring pattern from the drop-down menu.
○ Forced Deliver - Select the Forced Deliver ring pattern from the drop-down menu.
● Queue Disposition Code Settings - Modify the disposition code settings by selecting the Settings icon.
● Queue Disposition Codes - Add disposition codes by selecting the Plus icon. Enter the code, description, and select the checkbox to enable.
[#article-topic-5]Agents[#article-topic-5]
On the Agents tab you can select the agents to assign to the Call Center by following these steps:
1. Select the Settings icon.

2. Select the agents from the Available list to move to the Selected list and vice versa, if necessary.
3. Select Save to save your changes.
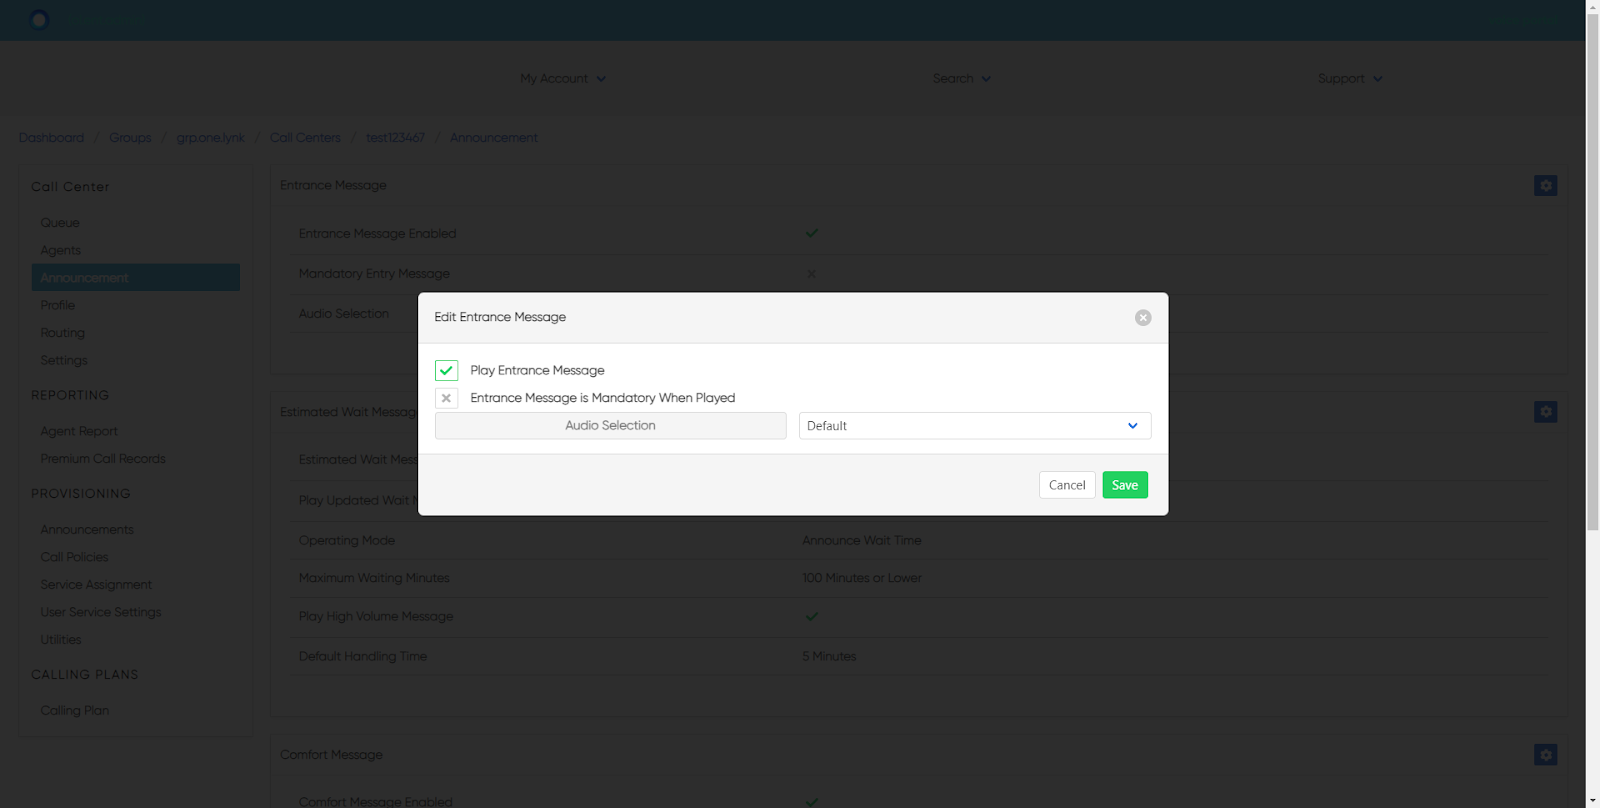
[#article-topic-6]Announcements[#article-topic-6]
Call Center announcements are messages and music callers hear while waiting in the queue. There are five types of announcements found and modified here:
● Entrance Message - Plays when callers first reach the queue. For example, “Thank you for calling ABC Company. An agent will be with you shortly.” It can be set as mandatory. If the mandatory option is not selected and a caller reaches the call queue while there is an available agent, the caller will not hear this announcement and will be transferred to an agent.
● Estimated Wait Message - Notifies the caller with either their estimated wait time or position in the queue. If this option is enabled, it plays after the entrance greeting and before the comfort greeting. This greeting is only played once while the caller is waiting in the queue.
● Comfort Message - Plays after the entrance message and before Music on Hold. This is typically a custom announcement that relays information, such as current promotions or information about products and services.
● Music on Hold Message - Plays after the comfort message in a repetitive loop. This announcement is typically a music file.
● Call Whisper Message - This option plays to the agent immediately before the inbound call is connected. The calling party hears ring back, announcements, or Music on Hold during the Whisper Message. The message typically announces which Call Center the call is coming from and can also remind agents of current specials or promotions associated with that Call Center.
To modify these announcements and their associated settings, follow these steps:
1. Select the Settings icon.
2. Configure the necessary settings and select the announcement audio. Options include:
○ Default - This will play the system default announcement.
○ File - Choose a custom file saved to the announcement repository.
○ URL - Enter the URL address of the audio file to be played.
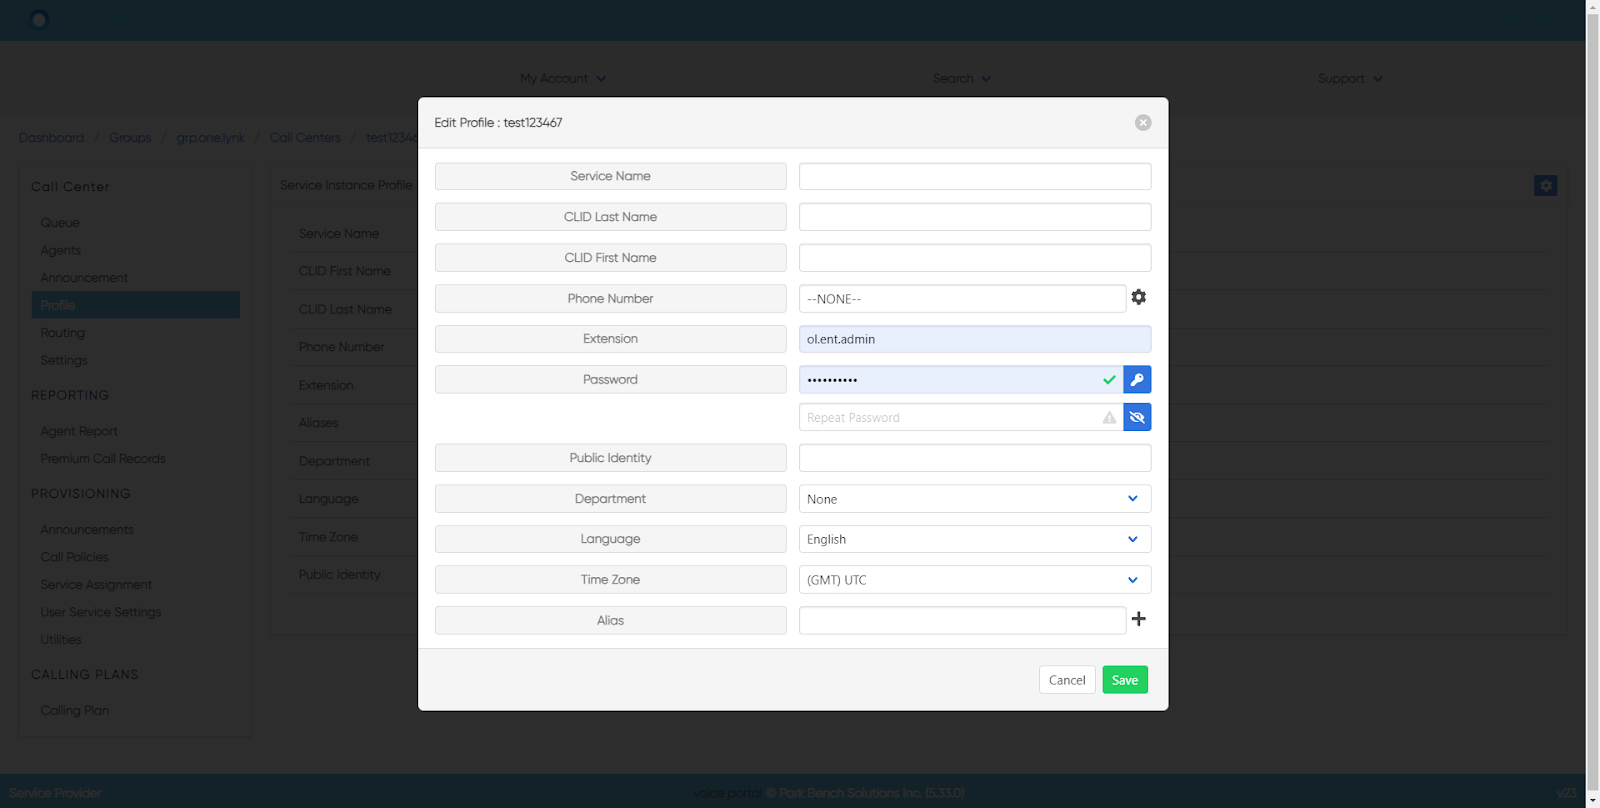
[#article-topic-7]Profile[#article-topic-7]
On the Profile tab, you can modify the profile settings for the Call Center by selecting the Settings icon.
Here you can modify the following settings:
● Service Name
● Calling Line ID (CLID)Last Name
● Calling Line ID (CLID)First Name
● Phone Number
● Extension
● Password
● Public Identity
● Department
● Language (for the audio announcements)
● Time Zone
● Alias
Modify and select Save to save your changes.
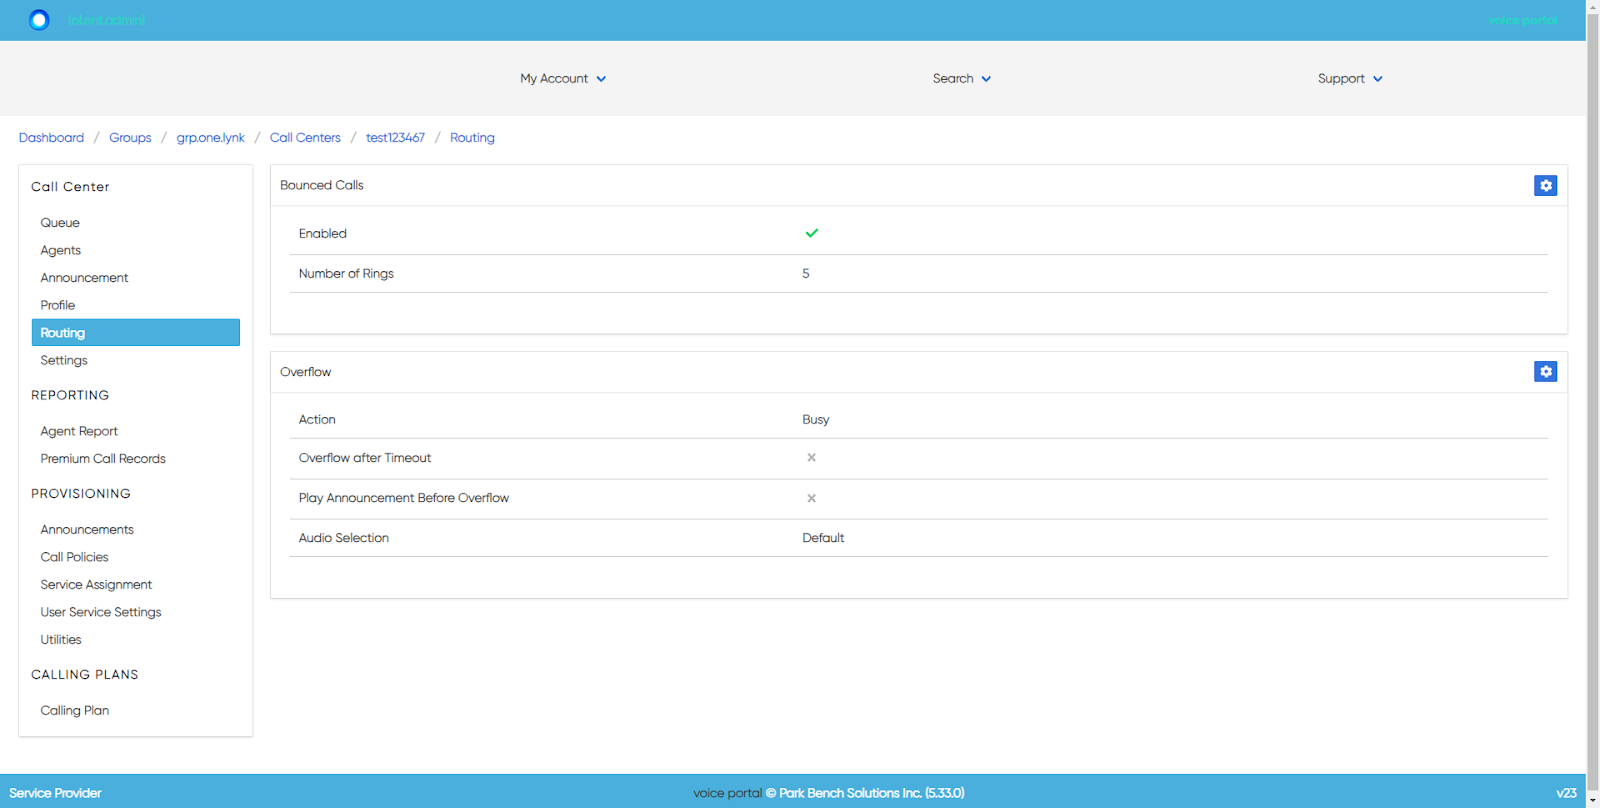
[#article-topic-8]Routing[#article-topic-8]
On the Routing tab, you can configure the different aspects of the Call Center routing policy services.
● Holiday Service - Allows an optional message to be played and a different routing treatment for special days and Holidays where workers may not be present.
● Night Service - Configures the announcement and treatment for calls received after normal business hours.
● Comfort Bypass - Allows an alternate comfort message to be enabled for calls expected to be answered quickly instead of comfort/Music on Hold treatments. This policy applies after the entrance message has finished playing (if applicable).
● Bounced Calls - Bounced calls are those that have been sent to an available agent, but the agent does not answer.
● Overflow - Overflow treatment is applied to calls when the Call Center reaches its size limit or when callers have been in the Call Center for a specified amount of time. For example, if the Call Center queue size limit is set to 20, the 21st caller will be routed to the overflow destination. Likewise, if the overflow timer is set to 60 seconds, after 60 seconds, callers will be routed to the overflow destination.
● Stranded Call - This policy allows for the configuration of the processing of stranded calls. A stranded call is a call that is being processed by a queue that has no agents currently staffed.
● Stranded Call Unavailable - This policy allows for the configuration of the processing of calls that are in a staffed queue when all agents are unavailable. A “staffed” queue has one or more agents who are both joined to and signed in to the queue.
To modify these routing settings, follow these steps:
1. Select the Settings icon.
2. Configure the necessary settings and then select Save.
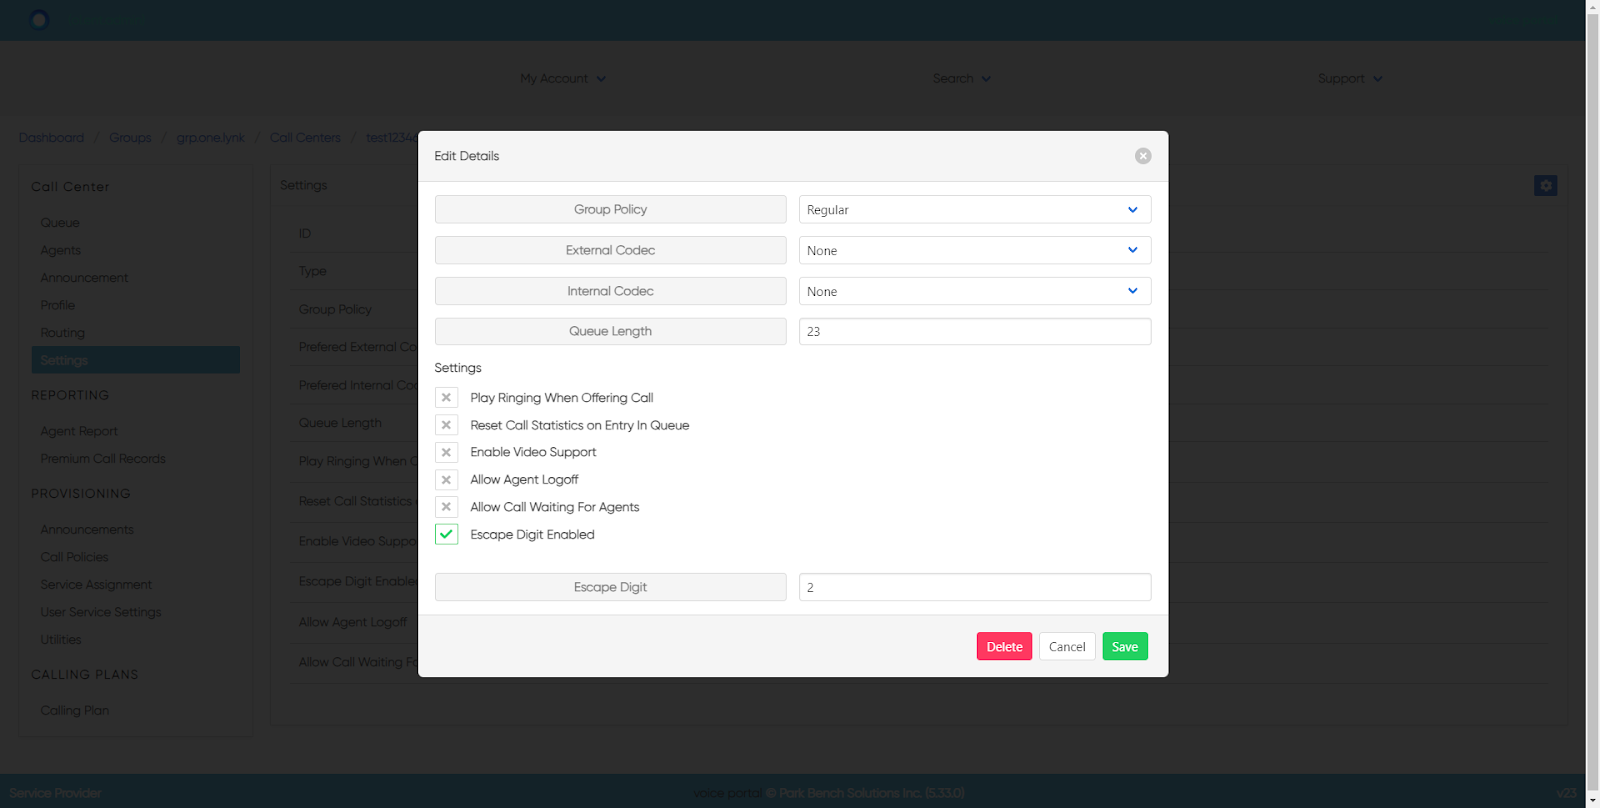
[#article-topic-9]Settings[#article-topic-9]
On the Settings tab, you can view and configure the main settings for the Call Center. To modify, select the Settings icon.
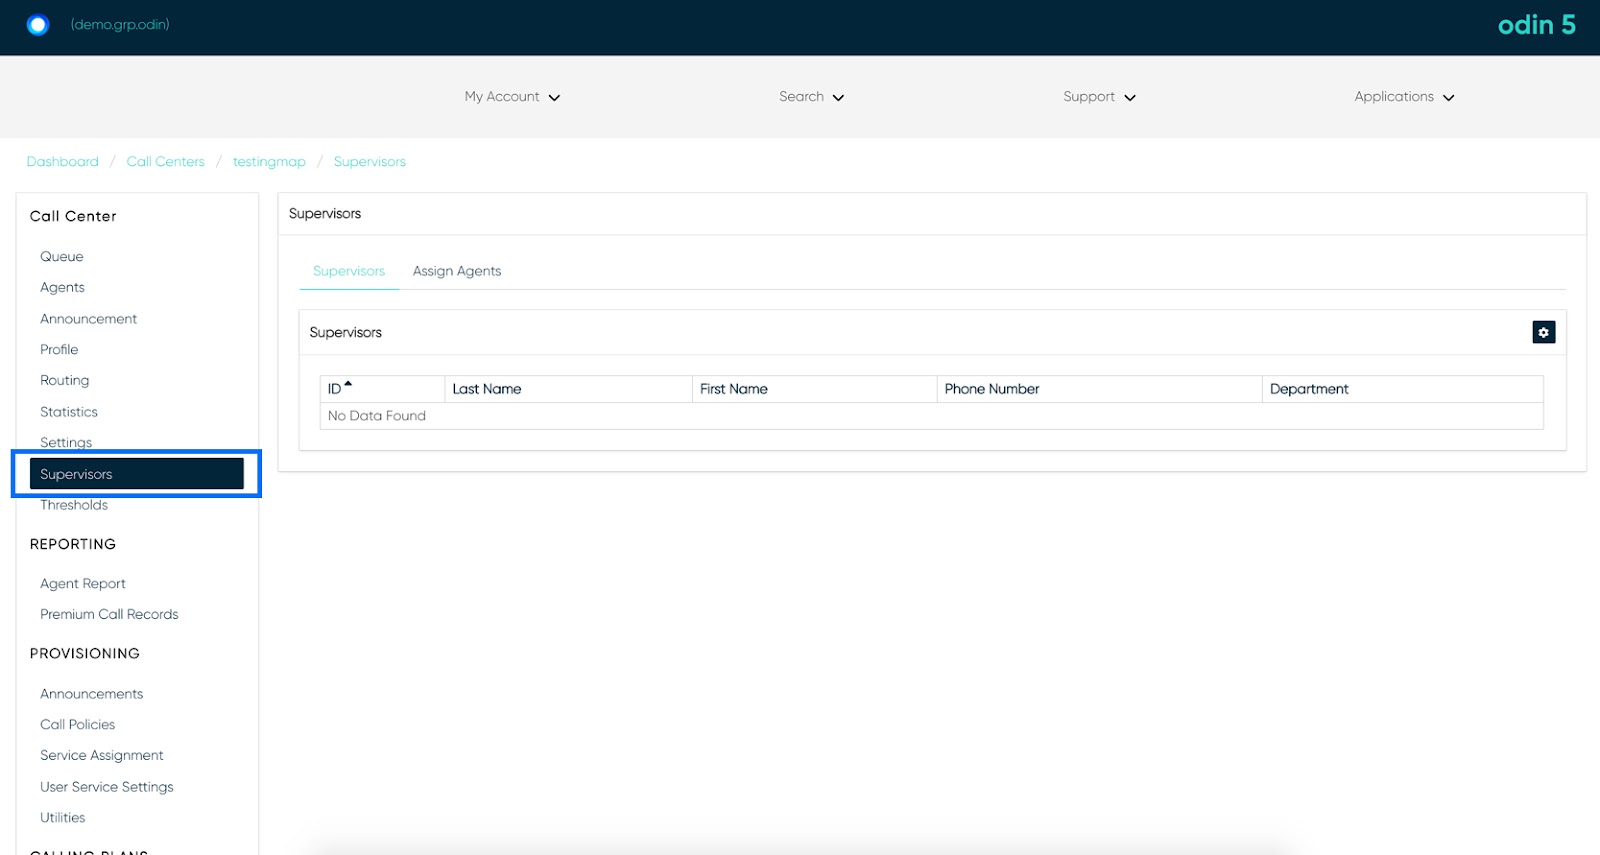
[#article-topic-10]Supervisors[#article-topic-10]
On the Supervisors tab, you can configure the list of users who may supervise the Call Center. To modify the list, select the Settings tab. Click the username to add/remove from the Available Supervisors list to/from the Assigned Supervisors list.
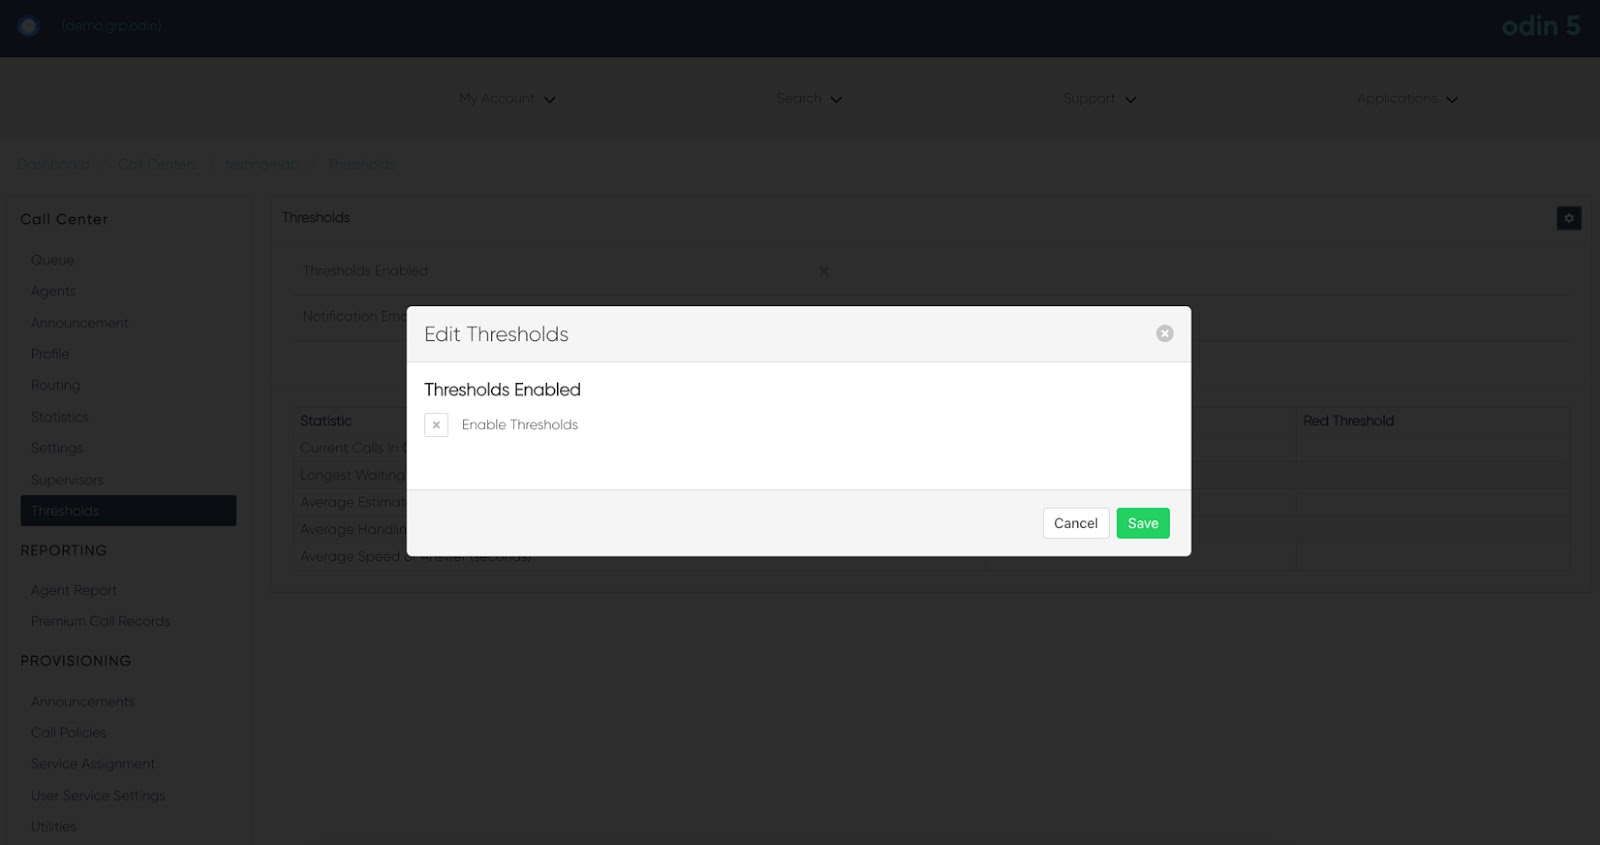
[#article-topic-11]Thresholds[#article-topic-11]
On the Thresholds tab, you can configure key statistical Call Center thresholds and set up the notification email. To modify, follow these steps:
1. Select the Settings icon.
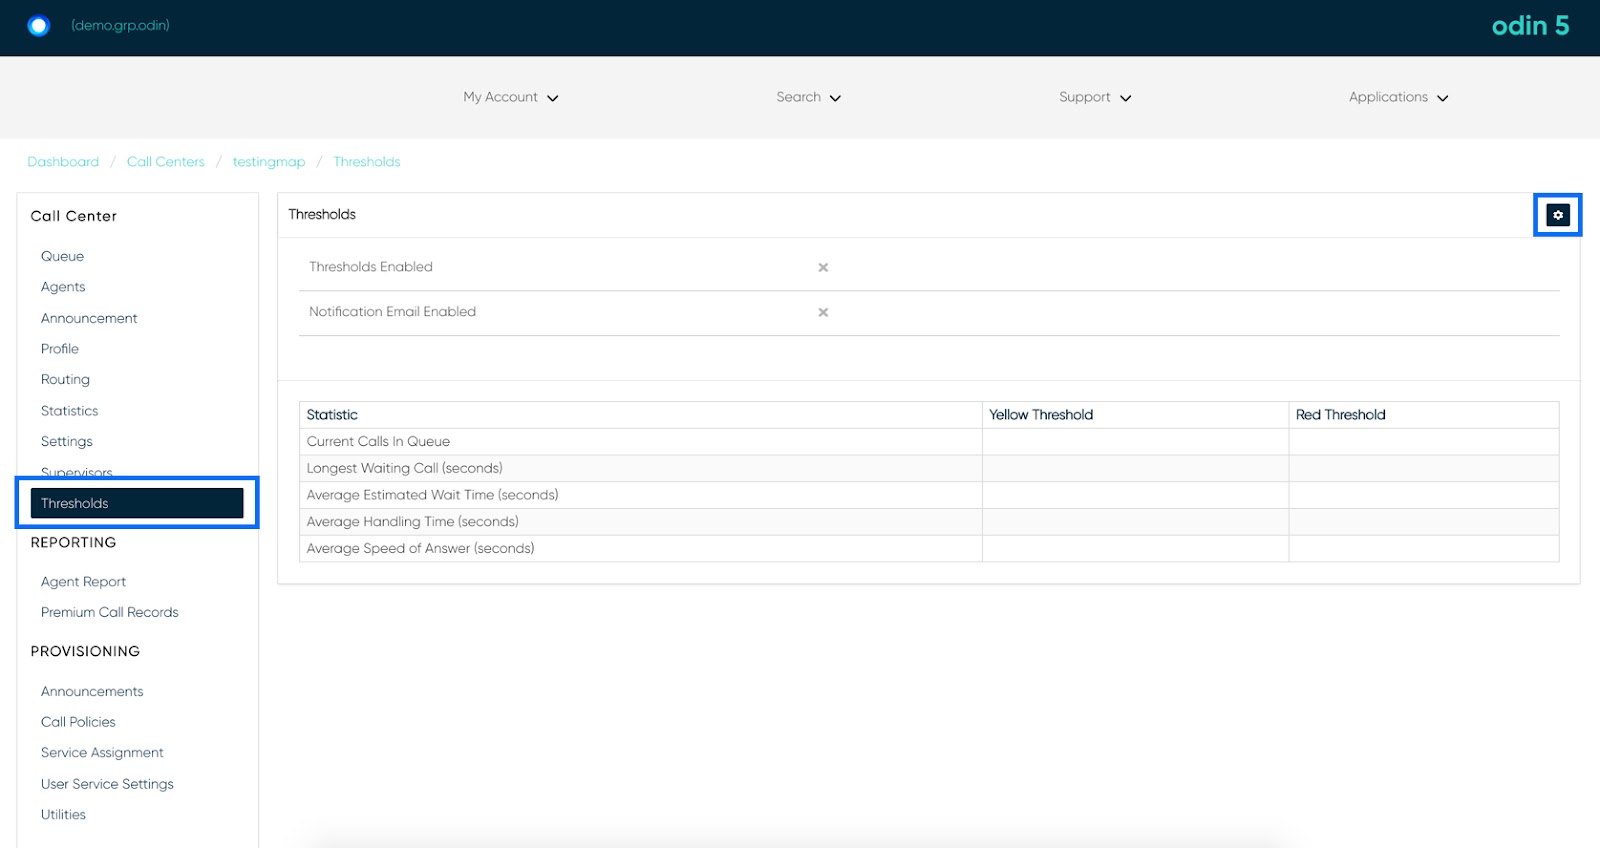
2. To enable and expand additional settings, check the box next to Enable Thresholds.
3. To enable a notification email, check the box next to Enable Notification Emails and enter the email address(es) to send notifications.
4. Next, enter the thresholds for each category for both Yellow and Red (in seconds). Once these thresholds are met, the emails entered above will receive notifications and the statistics are recorded and available on the Thresholds tab.
5. Select Save to save your settings.